Last night, I created a set of simple concept images in roughly 4 hours of on-and-off work. My goal was to quickly develop a partial continuity between two images, establishing a sort of implied workflow utilization. In other words, I wanted to first create a hand drawn digital image of the concept using a pressure sensitive pen tablet. Then, using this drawing as a guide, I wanted to speed model and texture a 3D environment inspired by the drawing, thereby establishing a workflow continuity commonly seen in the industry: from hand drawn concept image to rendered concept image.
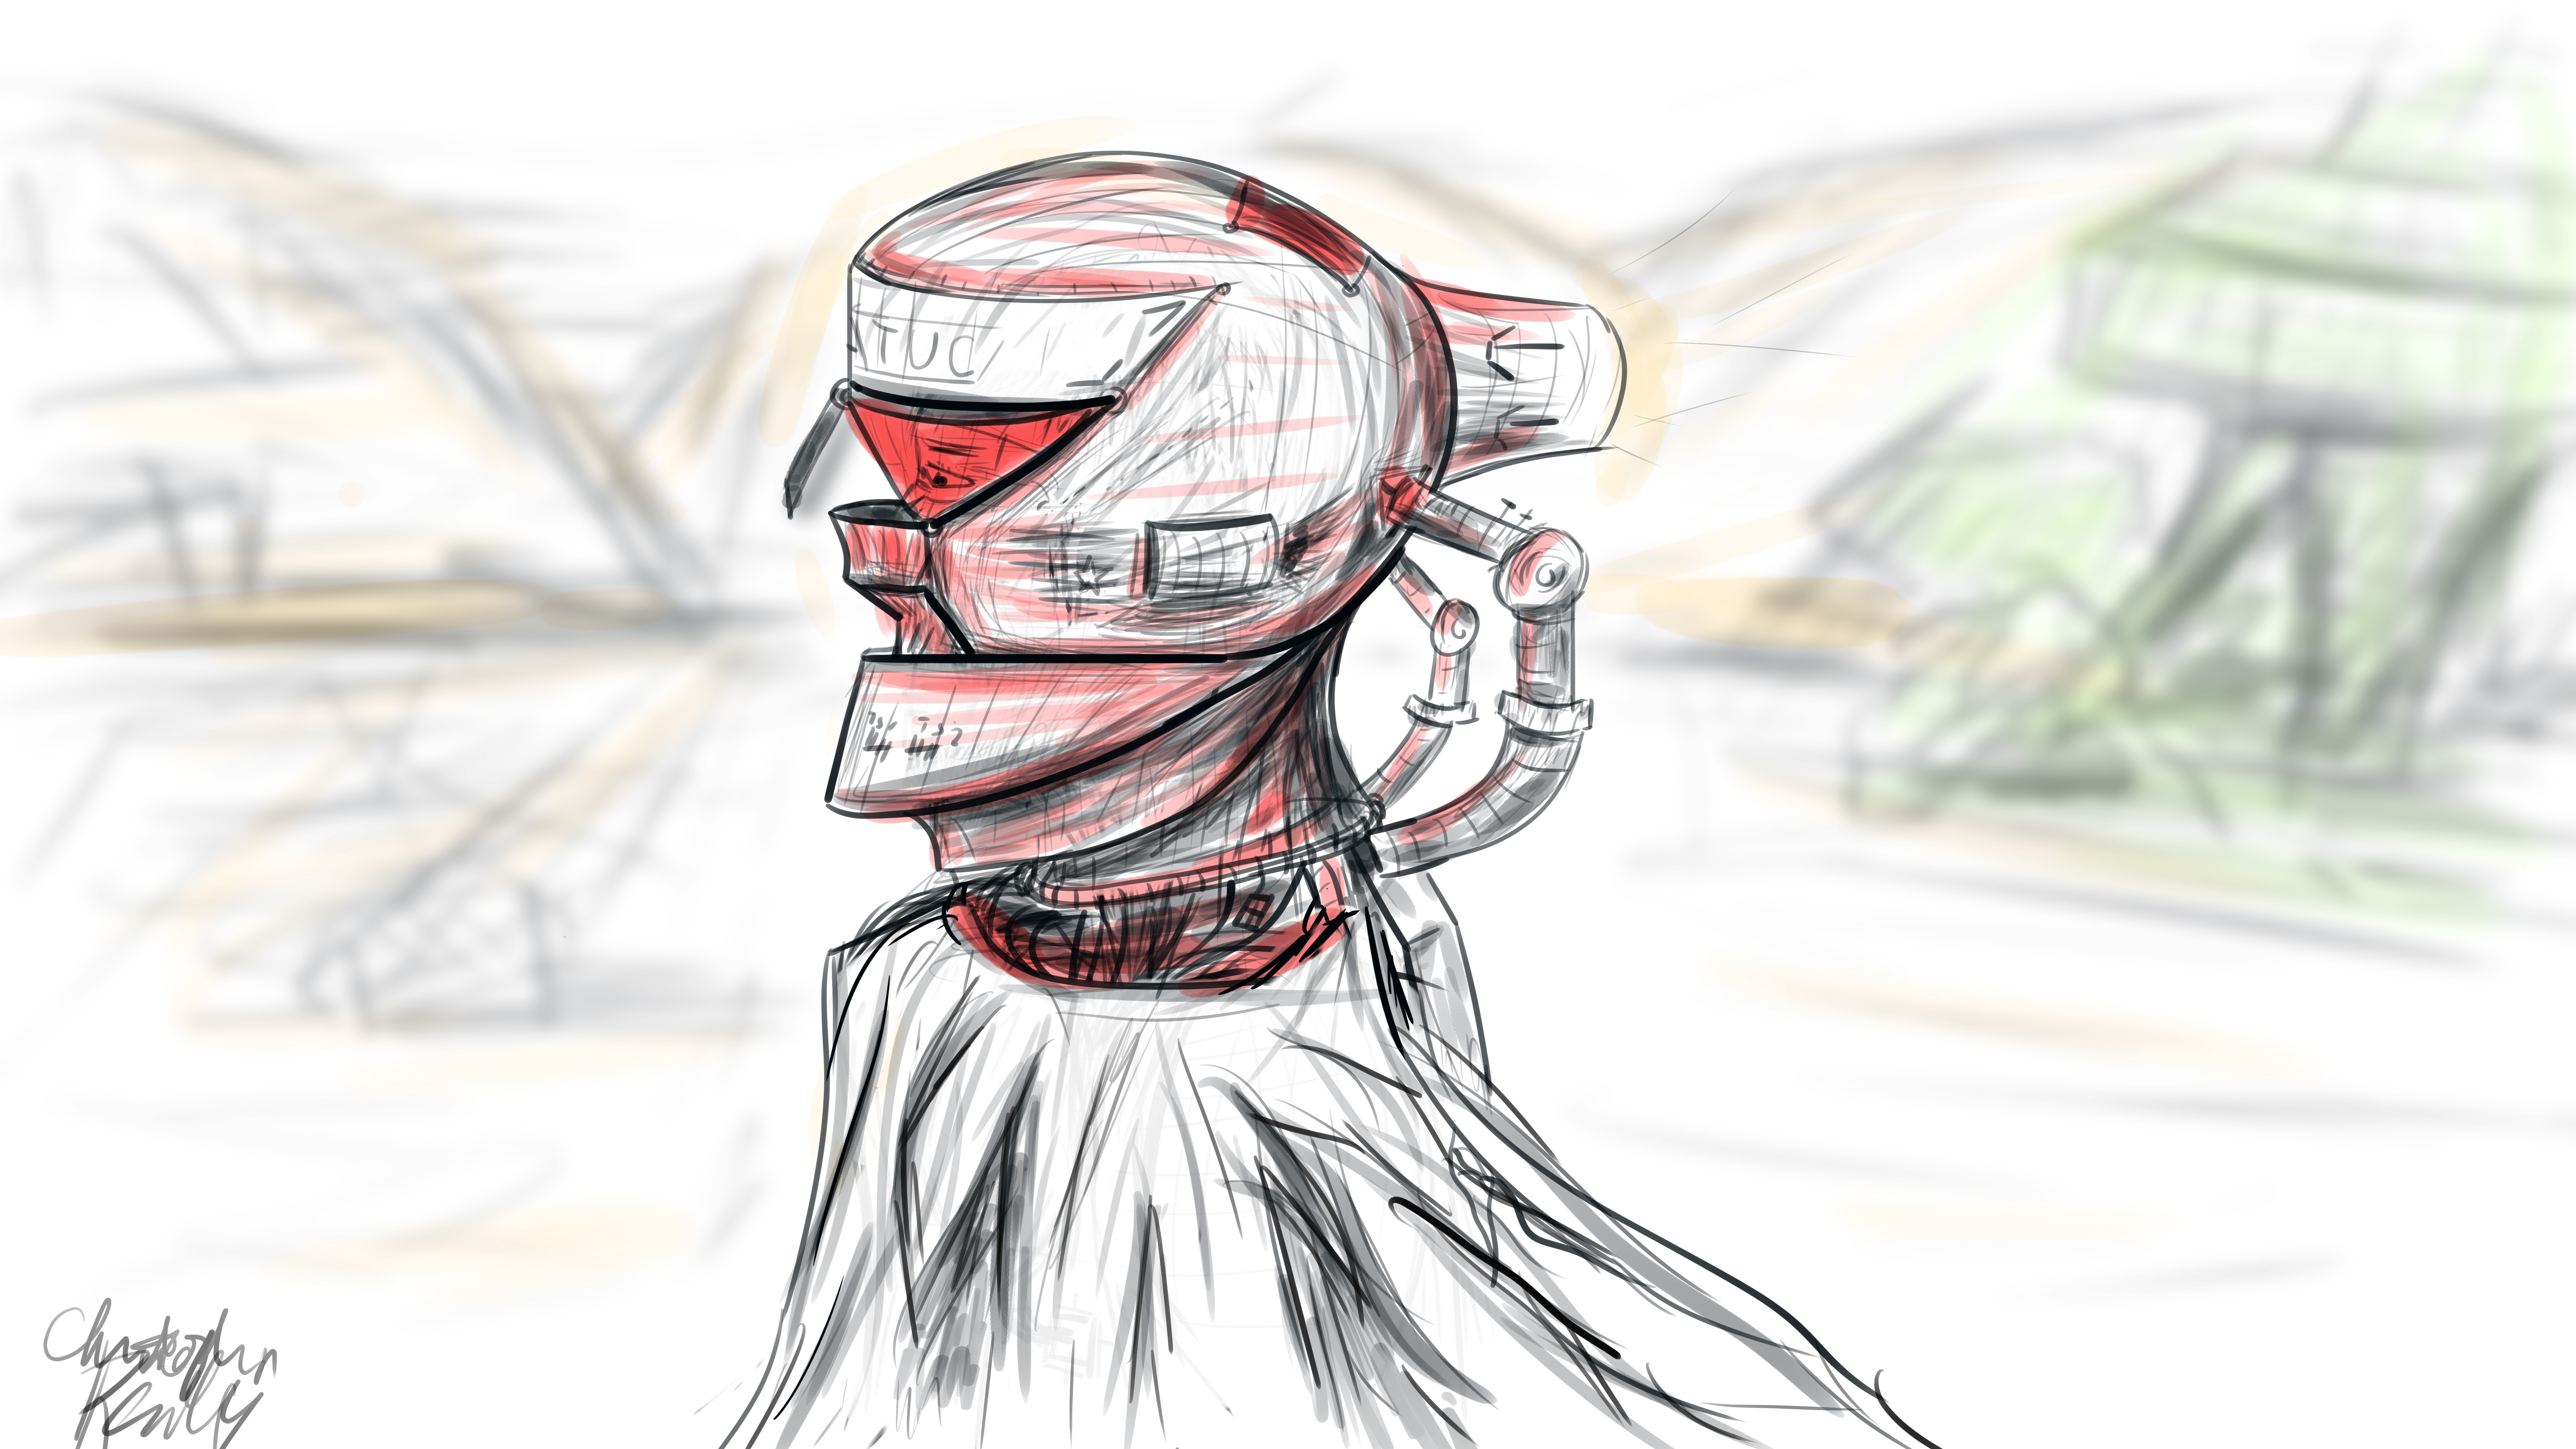
I began in Photoshop, where I set up a 16*9 inch 500 ppi resolution document with no guidelines. I set the pen size to roughly 25 pixels for fine control of the design. I decided to go for a neofuturistic, bleak image of an astronaut of some sort traversing a somewhat barren area. I wanted to combine elements of the past into the image by featuring a draped cloth, which would be covering the lower half of the figure’s visible physique. I began to draw with smoothing at around 50%. I first did a complete sketch of the man’s face from the inner muscle groups outward, even though most of this would later be covered by other elements, such as his helmet. I even included facial hair. The man’s thin face and the shape of his jaw helped dictate where the different elements of the helmet would go, and what shape they would take.
The first defining strokes I made staked out the area that would later make up the visor part of the helmet. I defined the opening that the man would be looking out of, as well as the collar piece and other essential components of the structure. Once I had pieced the entire structure together, I began shading the image according to the geometric contours using various pen widths and shapes until I was satisfied. I blocked out elements of the man’s bare face using white shapes with various opacities to define the surface of the helmet.
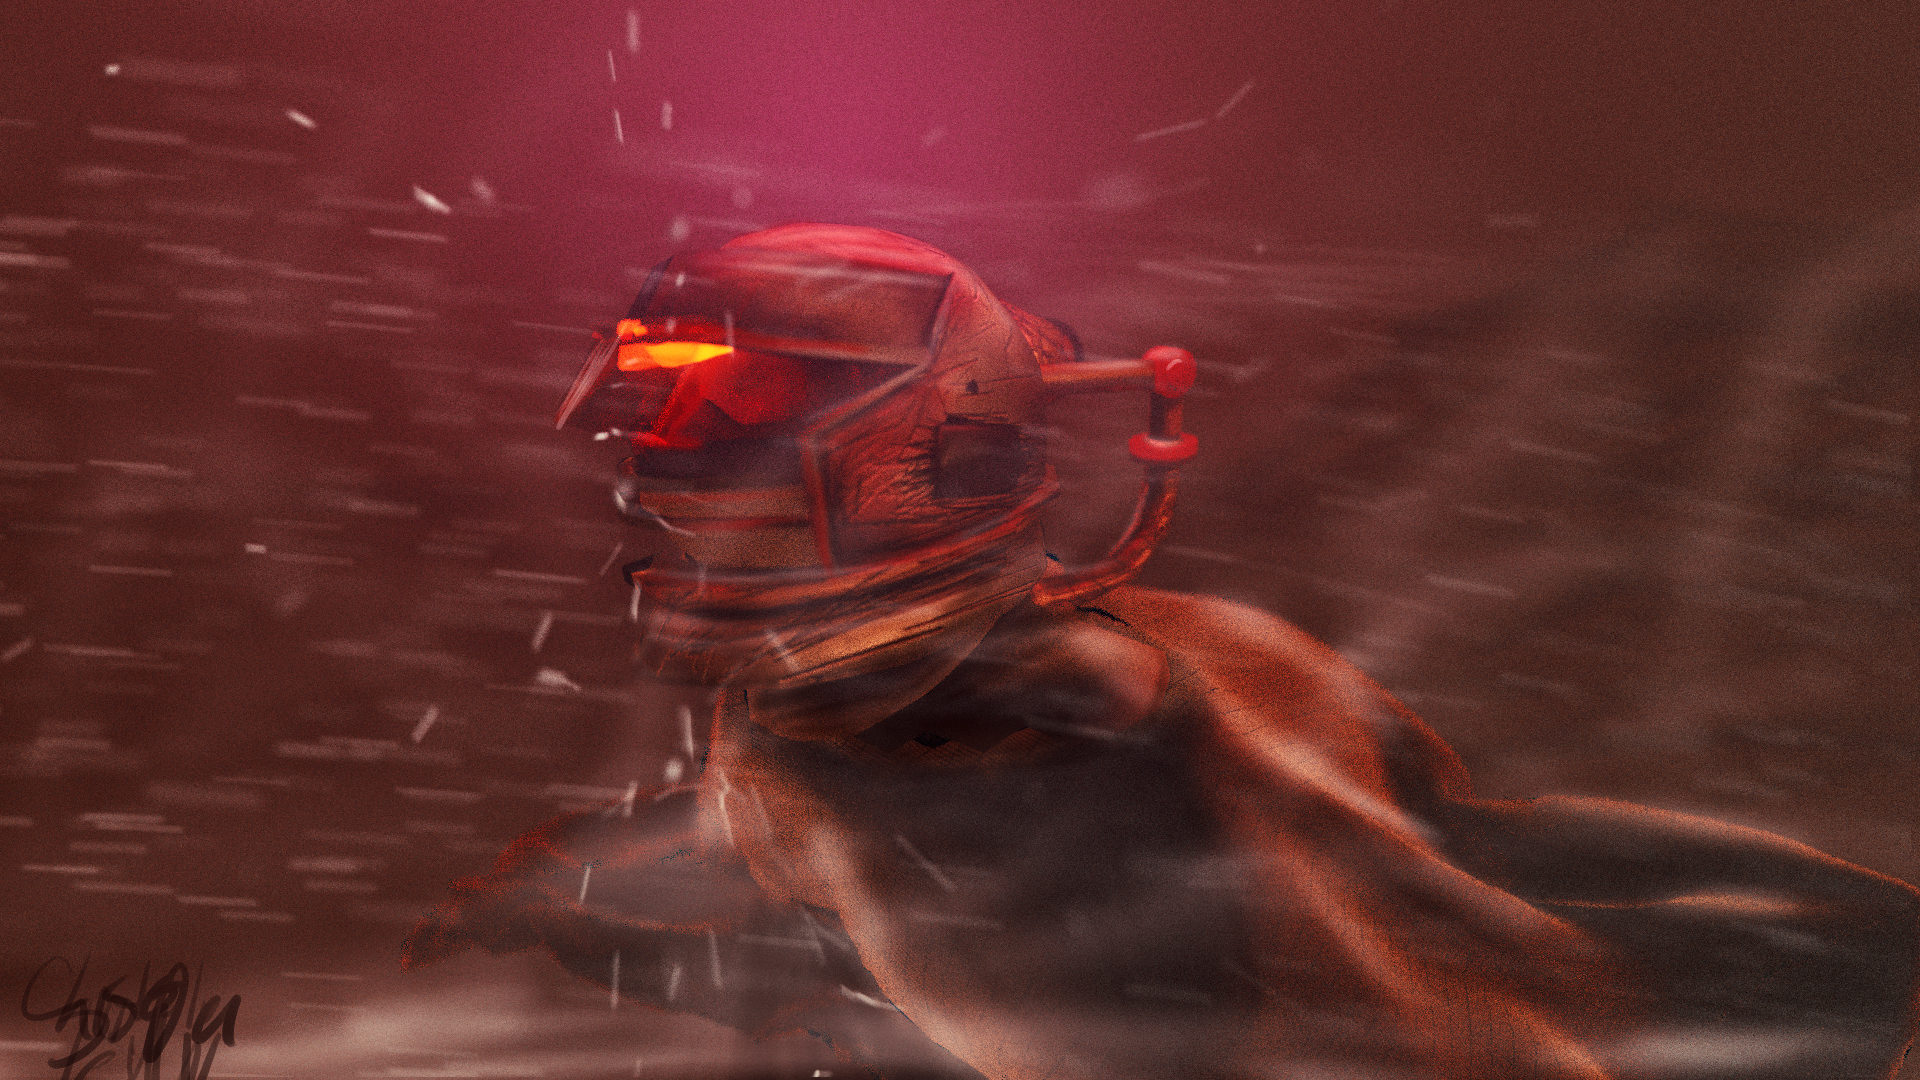
To go from 2D to 3D, I first sculpted the man’s bare face using the sculpting tools in Blender. I then began forming the geometric segments of the helmet around the face according to their required positions. I frequently adjusted the design and shape of the pieces on the fly as I went. When I was ready, I used Blender’s texture paint features to literally draw on color and damage marks, and applied these image textures to the model pieces in the node compositor. I used glossy shaders for the most part, and reused the hand drawn textures as displacement maps to give depth to the material.
To achieve the cloth look, I created a subdivided plane with a hole in the middle around the figure. I “pinned” the vertices at the center so that they would not move, and then ran a cloth simulation using wind and turbulence forces to achieve a billowing cloak model. I textured this using a combination of an opaque velvet shader and a transparent shader in a mix shader, with the factor set to a stretched brick texture. This gave me long strands of “cloth”, which looked like a woven burlap material up close.
I then ran a particle system with wind and a collision object to simulate snow, and rendered this separately. I pulled everything into Photoshop, applied a lookup table, touched up highlights and shadows using the brush tool, and composited dust and smoke into the shot, and rendered it out. The resulting image is comparable to the original sketch, albeit vastly different in proportion.
This exercise has given me some insight as to how concepts tend to change from conception to execution, and how one might go about adapting reference images for use in 3D environments. To see more of my work, go to www.newflightdigital.com. Feel free to reach out to me at contact@newflightdigital.com.
