Designing a Website with Total Creative Control: Building the Improved ‘New Flight’ Website

Whether you own a business, need to promote yourself, or run a nonprofit, owning a website that suffers from bad web design is a terrible disadvantage. The first New Flight Digital website was designed in Adobe Muse, a now-discontinued WYSIWYG (what you see is what you get) website designer. I knew there were many disadvantages to using such a program (less creative freedom, lack of direct control over content, etc), but like so many others, I simply lacked the know-how to launch into building my own website from scratch. Until I started Googling… and googling… and googling…

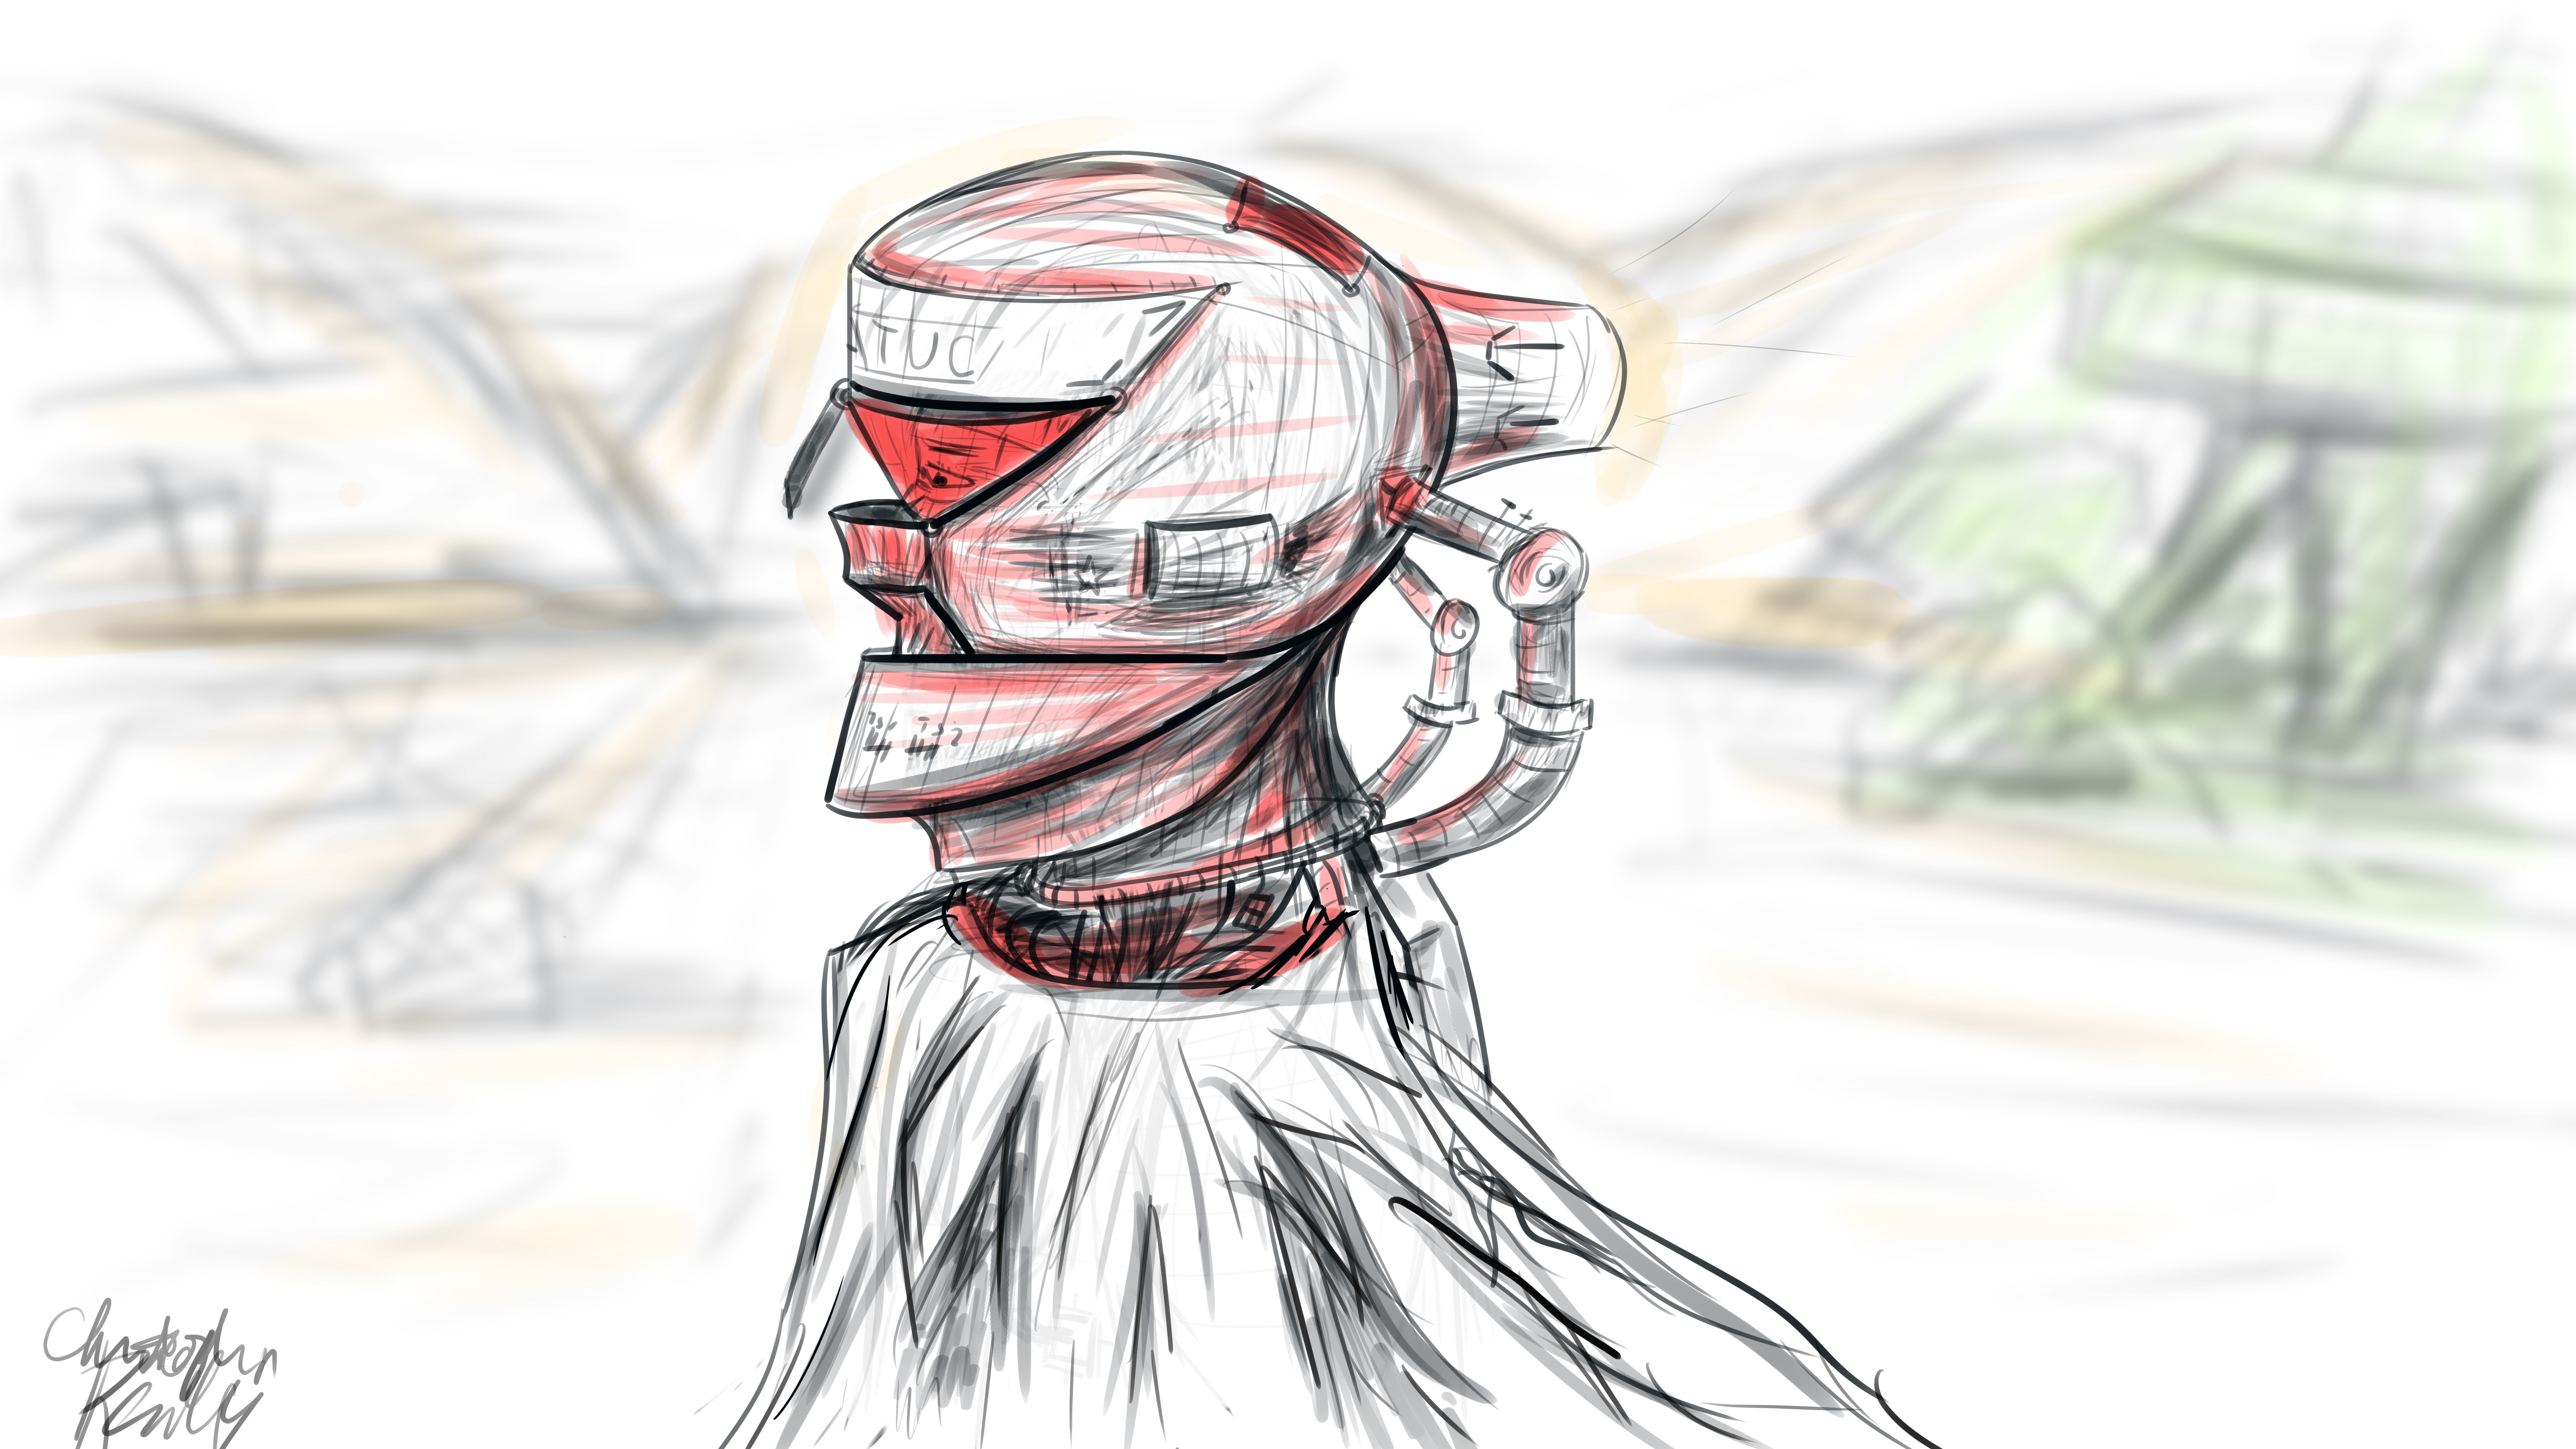
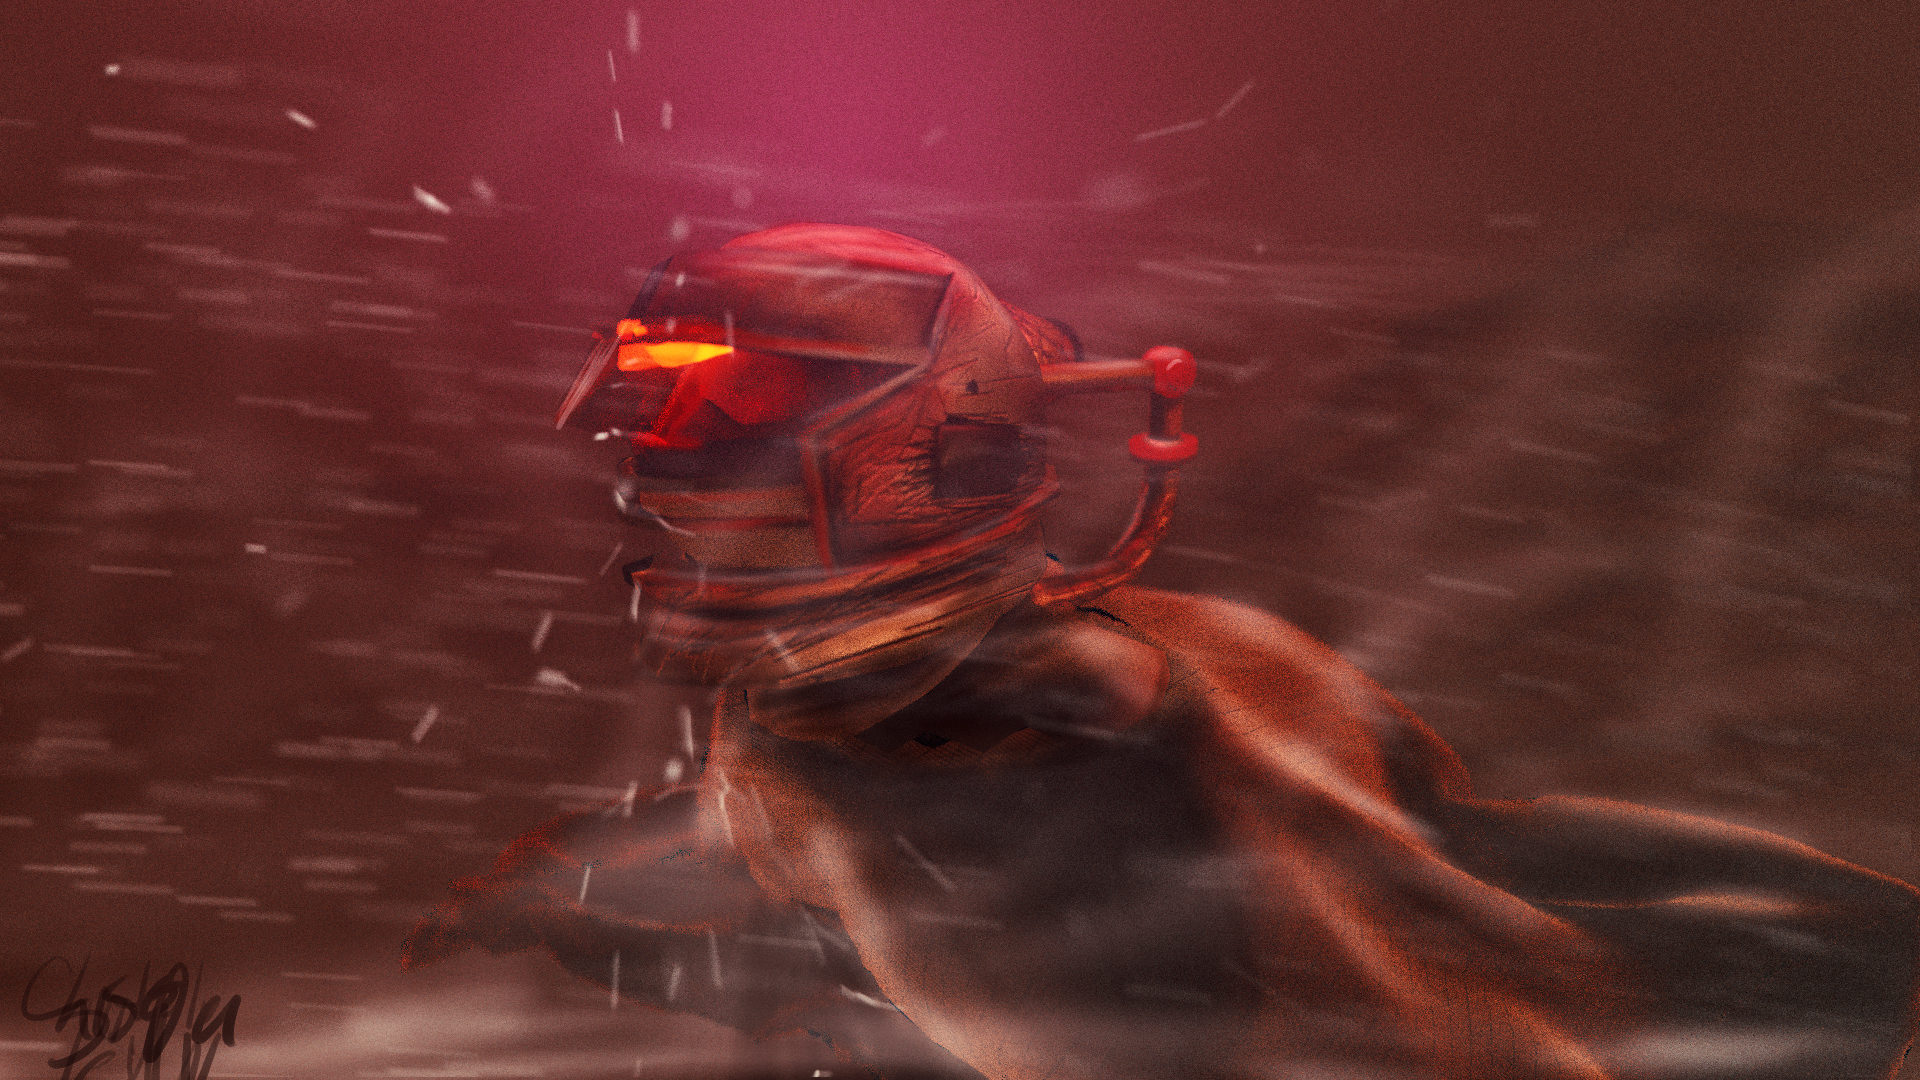
I knew a revamped New Flight website would need to showcase some of our products, and the many eye catching 3D graphics and effects we have produced. It would need to be big, bold and colorful, like the company. I started looking to other similar (albeit larger-name) players in the VFX industry for inspiration. Digital Domain, for example, has a front page with pleasing motion graphics, large hero-shots of their work, and a unified color scheme.

Digital Domain’s website includes attractive features and large imagery

With next to no idea where to begin, I started with an open source HTML template and opened it in Adobe Dreamweaver. Quick, rapid google searches were my go-to as I learned the ins and outs of HTML and CSS. But I soon realized that the things I wanted to display on the website could not be accomplished with HTML alone. You see, websites like the one I had in mind are the result of the interplay between HTML and CSS files, Javascript, PHP, and other elements, all interacting. The latter two are scripts… files that are intended to execute in order to accomplish something. In order to execute PHP, I needed to set up a web server, since PHP runs on the server itself. Try to view a “.php” file without hosting it on a web server, and it won’t do anything, because there’s no server to run it. Javascript on the other hand executes “client side”, meaning it executes in the viewer’s browser, and not on the server.

  • PHP- Server-side code (script)
  • Javascript- Client-side code (script)
  • HTML- What web pages are ultimately made of
  • CSS- Cascading Style Sheet; how web pages know what to look like

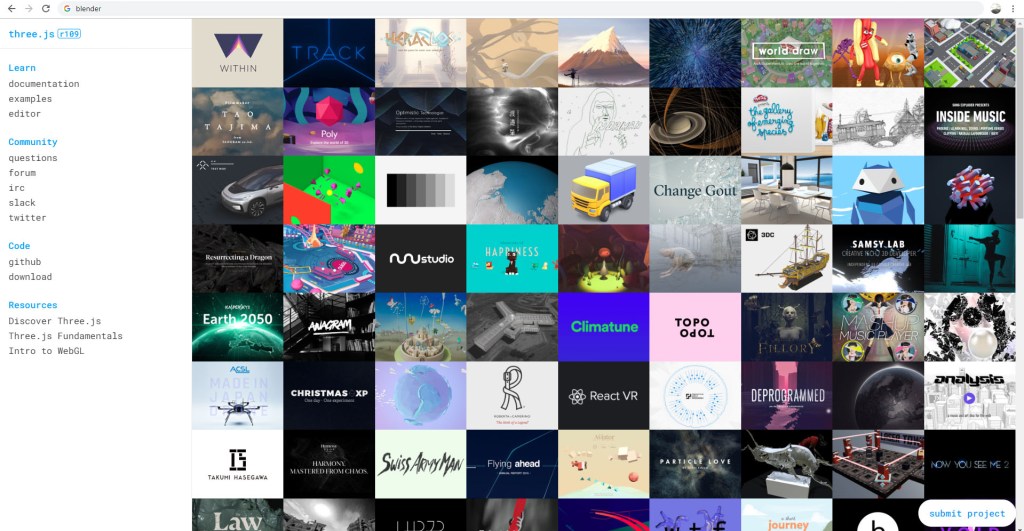
After setting up a local testing environment with XAMPP, I quickly mocked up some design ideas. Any files I edited and saved would automatically update on the web server, since I was editing them directly. This was extremely useful for up-to-the-moment updated views of the website code. I knew I needed some 3D elements on the website. After all, that’s what we do. Why not have some cool 3D objects for the user to interact with? For this, after some googling, I used three.js, a 3D Javascript library. Think of it like a set of files that allows you to create 3D scenes in Javascript. I dug in, and spent months working on a front page 3D scene using Blender to create assets.

Three.js is an incredible library behind some impressive web design

But there was so much more! I needed a contact form, a downloads page, a blog slider, and other elements. For all of them, I either used PHP or Javascript to deliver the information to the viewer. If a script needed direct access to server elements, I used PHP, since it ran on the server, and therefore could access the server files. If something needed to be rendered by the client, I used Javascript, since it ran on the user’s computer.

The front page of http://www.newflightdigital.com

In the coming months, I hope to share details of how I accomplished certain aspects of my website. All it took was googling… and patience. If you have those two things, you can create an entire website without costly alternatives, and have complete control over how it operates, what it does, and everything in between. Leave some comments below about what element of the new website you would like explained, or shoot an email to contact@newflightdigital.com.

Processing…
Success! You're on the list.

Creating a Futuristic Concept Scene: Speed Designing with Photoshop and Blender

Last night, I created a set of simple concept images in roughly 4 hours of on-and-off work. My goal was to quickly develop a partial continuity between two images, establishing a sort of implied workflow utilization. In other words, I wanted to first create a hand drawn digital image of the concept using a pressure sensitive pen tablet. Then, using this drawing as a guide, I wanted to speed model and texture a 3D environment inspired by the drawing, thereby establishing a workflow continuity commonly seen in the industry: from hand drawn concept image to rendered concept image.

I began in Photoshop, where I set up a 16*9 inch 500 ppi resolution document with no guidelines. I set the pen size to roughly 25 pixels for fine control of the design. I decided to go for a neofuturistic, bleak image of an astronaut of some sort traversing a somewhat barren area. I wanted to combine elements of the past into the image by featuring a draped cloth, which would be covering the lower half of the figure’s visible physique. I began to draw with smoothing at around 50%. I first did a complete sketch of the man’s face from the inner muscle groups outward, even though most of this would later be covered by other elements, such as his helmet. I even included facial hair. The man’s thin face and the shape of his jaw helped dictate where the different elements of the helmet would go, and what shape they would take.

The first defining strokes I made staked out the area that would later make up the visor part of the helmet. I defined the opening that the man would be looking out of, as well as the collar piece and other essential components of the structure. Once I had pieced the entire structure together, I began shading the image according to the geometric contours using various pen widths and shapes until I was satisfied. I blocked out elements of the man’s bare face using white shapes with various opacities to define the surface of the helmet.

To go from 2D to 3D, I first sculpted the man’s bare face using the sculpting tools in Blender. I then began forming the geometric segments of the helmet around the face according to their required positions. I frequently adjusted the design and shape of the pieces on the fly as I went. When I was ready, I used Blender’s texture paint features to literally draw on color and damage marks, and applied these image textures to the model pieces in the node compositor. I used glossy shaders for the most part, and reused the hand drawn textures as displacement maps to give depth to the material.

To achieve the cloth look, I created a subdivided plane with a hole in the middle around the figure. I “pinned” the vertices at the center so that they would not move, and then ran a cloth simulation using wind and turbulence forces to achieve a billowing cloak model. I textured this using a combination of an opaque velvet shader and a transparent shader in a mix shader, with the factor set to a stretched brick texture. This gave me long strands of “cloth”, which looked like a woven burlap material up close.

I then ran a particle system with wind and a collision object to simulate snow, and rendered this separately. I pulled everything into Photoshop, applied a lookup table, touched up highlights and shadows using the brush tool, and composited dust and smoke into the shot, and rendered it out. The resulting image is comparable to the original sketch, albeit vastly different in proportion.

This exercise has given me some insight as to how concepts tend to change from conception to execution, and how one might go about adapting reference images for use in 3D environments. To see more of my work, go to www.newflightdigital.com. Feel free to reach out to me at contact@newflightdigital.com.